
Creating a Contract Template
Overview
All contract templates are created from Setup → Global Contracts → Add New. The fields available depend on the Document Type selected. Each template is built once and reused every time a document needs to be generated for a client or broker.
How the Body Editor Works
Each document type has a rich-text body editor (similar to a Word processor). You write the contract text directly in the editor — formatting, tables, and styling are all supported.
To insert dynamic data, type the Document Word code directly in the body wherever you want that data to appear. For example:
This contract is made between [Company Name] and -client_name- for the unit -unit_name-
located in -project_name-, with a total price of -total_amount-.
When the document is downloaded, the system replaces every code with the actual value from the relevant record. See the Document Words page for the full list of available codes and which document types they are compatible with.
⚠️ Document Words are type-specific. A code compatible with a Contract template may not work in a Reservation Form. Always verify compatibility before inserting a code.
Document Types & Their Fields
Reservation Form
Selected at the Hold step of the Unit Sales Pipeline — the salesman selects which Reservation Form to use, then downloads it for the client.
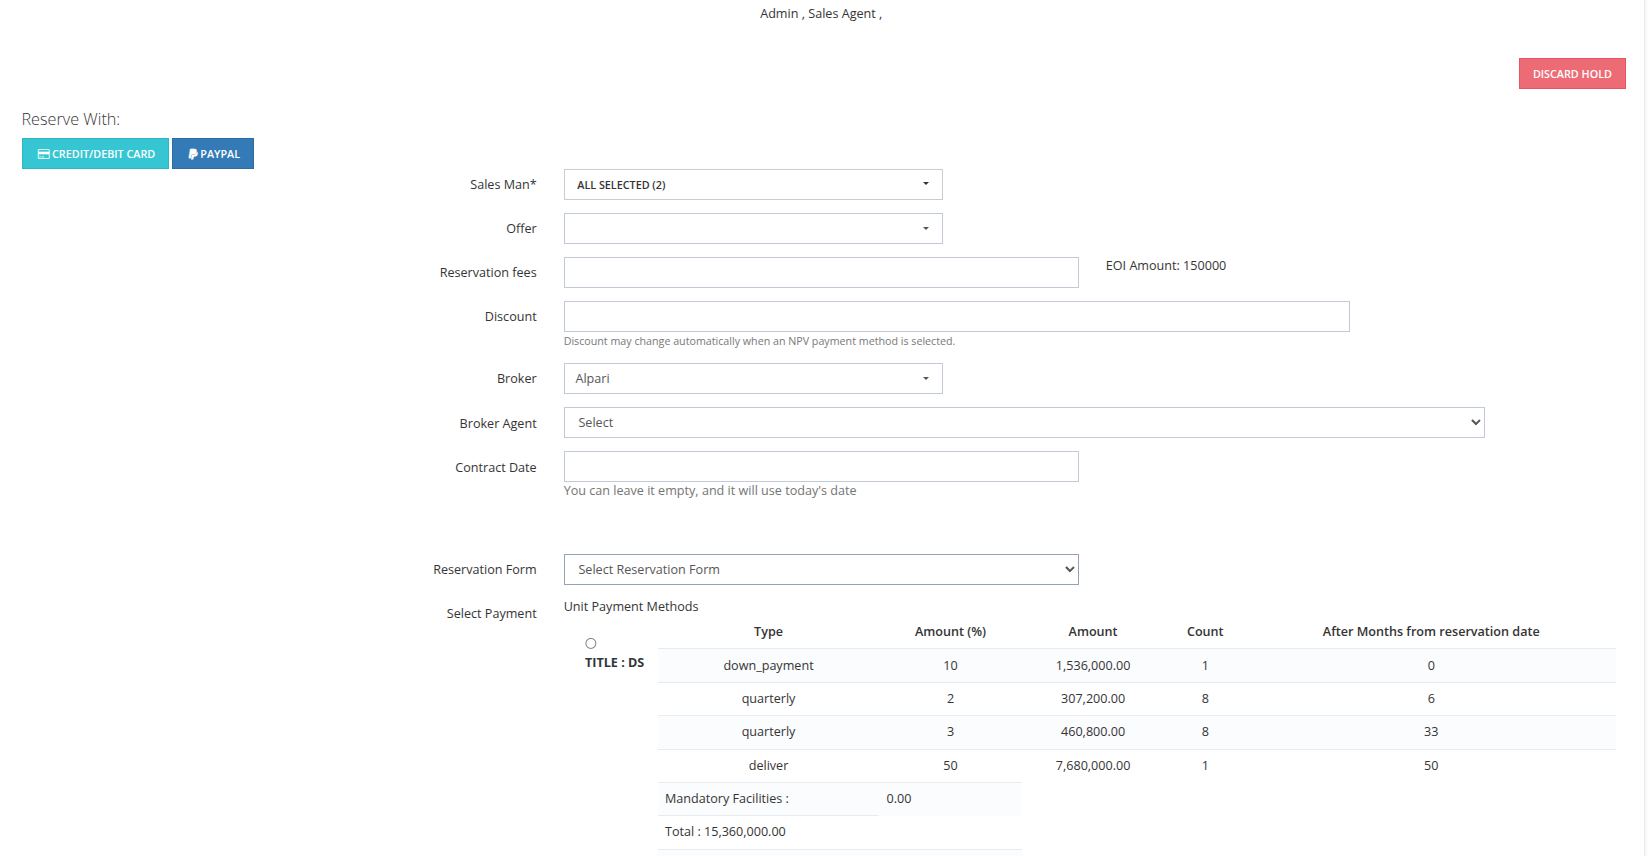
| Field | Required | Description |
|---|---|---|
| Title | ✅ | Name of the reservation form template. |
| Reservation Form Body | ✅ | Write the form content here. Insert Document Word codes where dynamic data should appear. |
| Document Type | ✅ | Set to Reservation Form. |
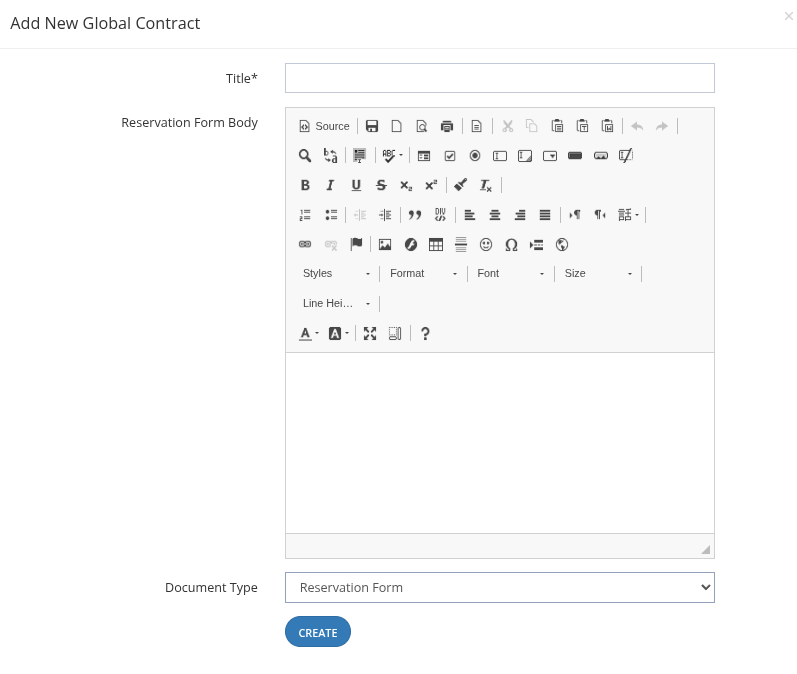
Contract
Selected at the Confirm Down Payment step of the Unit Sales Pipeline — finance selects which contract template to use before moving to the Contract step.
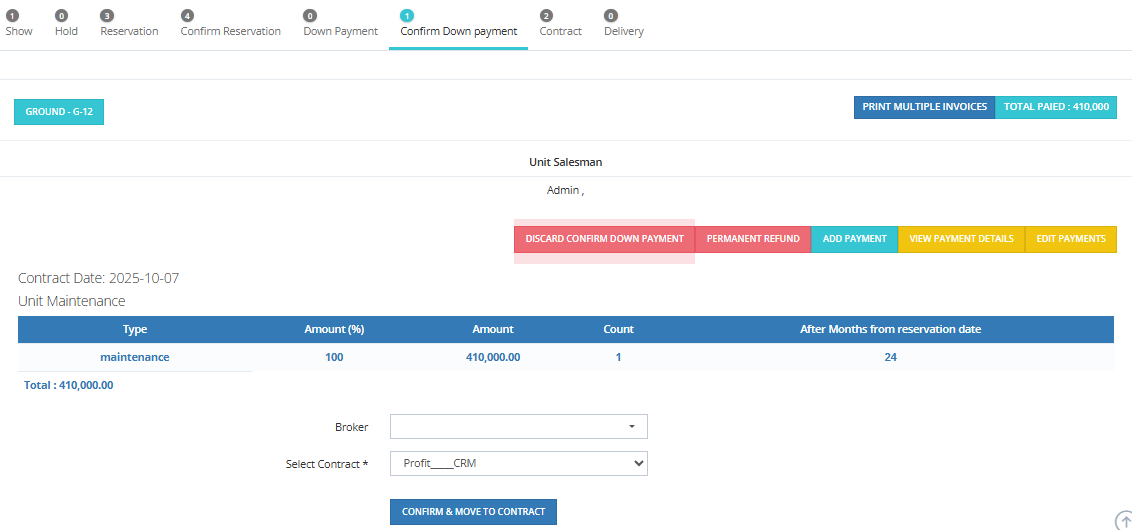
| Field | Required | Description |
|---|---|---|
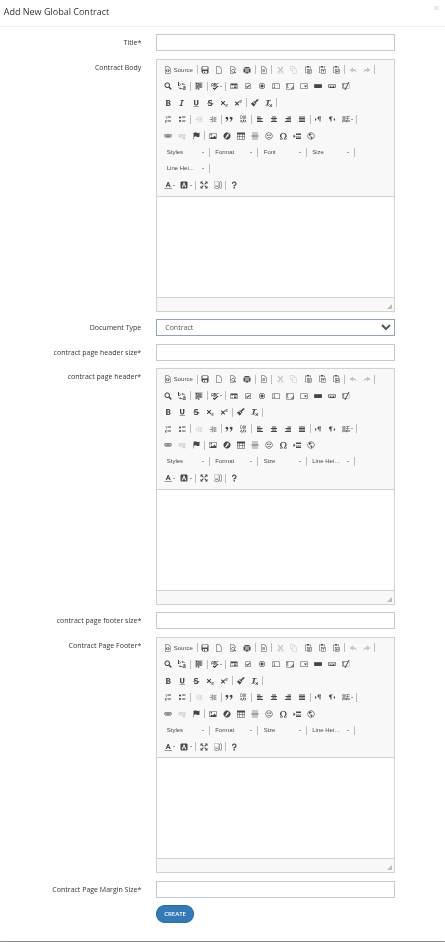
| Title | ✅ | Name of the contract template. |
| Contract Body | ✅ | Write the contract content here. Insert Document Word codes where dynamic data should appear. |
| Document Type | ✅ | Set to Contract. |
| Contract Page Header Size | Optional | The height (in px or mm) of the header area that appears at the top of every page. |
| Contract Page Header | Optional | The header content — written in a separate rich-text editor. Appears at the top of every page when the contract is printed or downloaded (e.g., company logo, letterhead, company name). |
| Contract Page Footer Size | Optional | The height of the footer area that appears at the bottom of every page. |
| Contract Page Footer | Optional | The footer content — written in a separate rich-text editor. Appears at the bottom of every page (e.g., page numbers, authorized signature lines, legal disclaimers). |
| Contract Page Margin Size | Optional | The margin size (in px or mm) around the page content on all sides. |
💡 The Contract type is the only document type that supports page headers, footers, and margin configuration. Use these for formal multi-page contracts where consistent branding or signature lines are needed on every page.
Broker Contract
Used in the Brokerage Module — downloaded from the broker's profile in Active Brokers.
| Field | Required | Description |
|---|---|---|
| Title | ✅ | Name of the broker contract template. |
| Broker Contract Body | ✅ | Write the contract content here. Insert Document Word codes where broker data should appear. |
| Document Type | ✅ | Set to Broker Contract. |
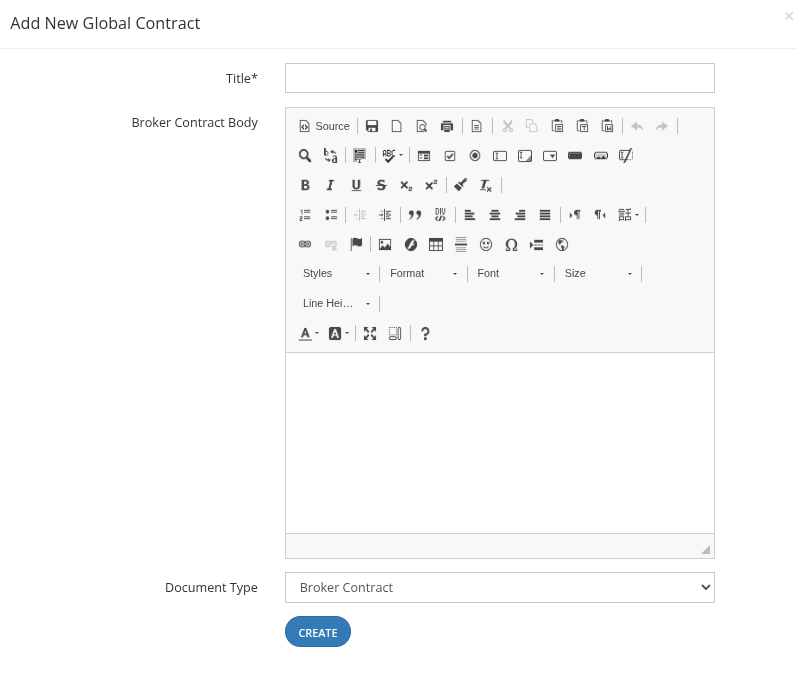
How to Create a Template
- Go to Setup → Global Contracts.
- Click Add New.
- Select the Document Type — this determines which fields and body editor appear.
- Fill in the Title.
- Write the content in the body editor — format it as needed.
- Insert Document Word codes anywhere in the body where dynamic data should appear.
- For Contract type only: fill in the header, footer, and margin fields if needed.
- Click Create.