
Facebook Integration
Overview
The Facebook Integration allows leads submitted via Facebook Lead Ads to flow automatically into the CRM — no manual entry needed.
How to Set Up Facebook Integration
Step 1 — Connect via Setup
Go to Setup → Facebook Integration and click Add New Facebook Integration.
⚠️ The user adding the integration must have full access to the Facebook Page being connected.
Step 2 — Login with Facebook
Click Login with Facebook and authenticate with your Facebook account.
Step 3 — Configure the Integration
After login, fill in:
| Field | Description |
|---|---|
| Select Page | Choose the Facebook Page you want to connect. |
| Select Form | Choose which lead form on that page to use. |
| Select AppLink | Select the Lead ID that incoming leads from this form will be tagged with. |
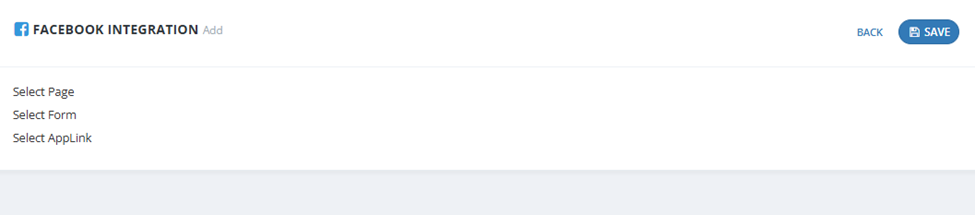
Step 4 — Map Fields
The system will show all fields from the Facebook form. Map each Facebook field to the corresponding CRM field:
| Facebook Form Field | CRM Field |
|---|---|
| Full Name | Name |
| Phone Number | Mobile |
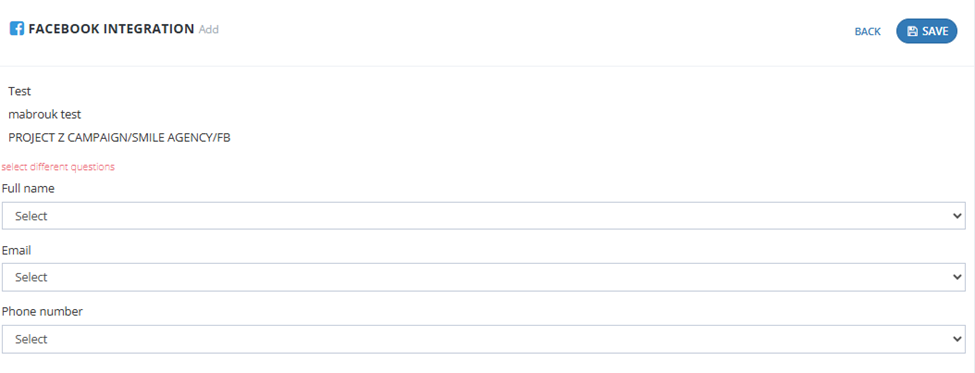
Step 5 — Save
Click Save — the integration is now active. New leads submitted via the Facebook form will automatically appear in the CRM under New Leads.
Facebook Integration List
The integrations page shows:
| Column | Description |
|---|---|
| User | Who set up the integration. |
| Page | The connected Facebook Page ID. |
| Form | The connected form ID. |
| Lead ID | The Lead ID assigned to incoming leads. |
| Actions | Retrieve, Delete, or View Failed Leads. |
Actions
- Retrieve — Manually pull any leads that may have been missed.
- Delete — Remove the integration.
- View Failed Leads — See leads that failed to sync and troubleshoot.

Key Things to Know
- The Facebook user must have full admin access to the Page — limited access will cause the integration to fail.
- Each integration is linked to one specific Facebook form and one Lead ID.
- If leads stop coming in, use Retrieve to manually sync, or check View Failed Leads for errors.